Managing a deep excavation poses real risks—from soil collapse to costly delays. Lagging panel wall reinforcement gives you the soil retention and site stability you need. In this guide, you’ll find clear, step-by-step insight on planning, selecting materials, and installing soldier pile and lagging panel walls so you can keep your project on schedule and compliant.
Lagging panel wall basics
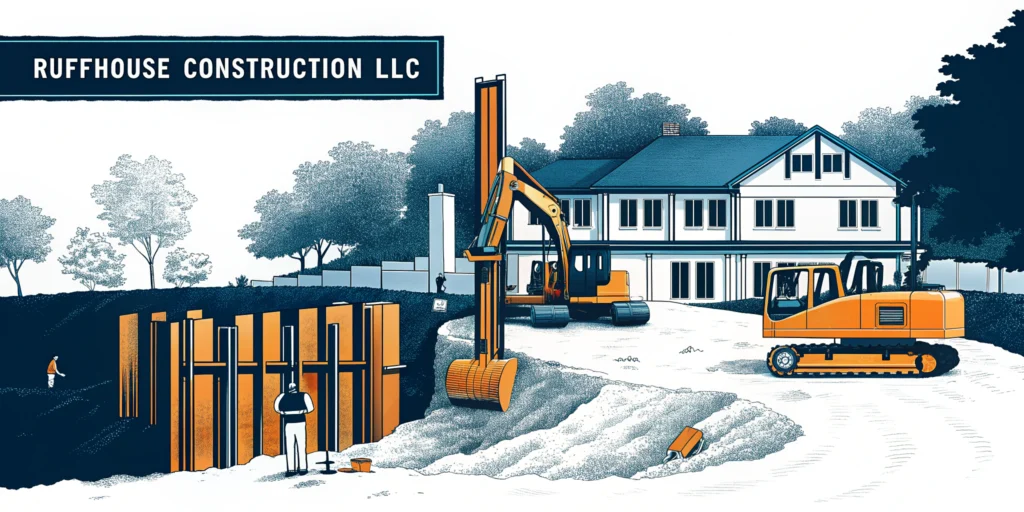
Soldier pile and lagging panel walls date back to the late 18th century in cities like New York, Berlin, and London. You drive vertical steel or concrete piles at 6–10-foot intervals, then insert horizontal lagging—timber, steel plating, shotcrete or precast concrete panels—to retain soil as you excavate.
This system offers:
- Fast installation, often outpacing other shoring methods
- Cost-effectiveness, especially when using timber lagging for temporary walls
- Versatility, with options for permanent finishes or sound-absorptive panels
When you review your overall soldier pile wall construction plan, consider site constraints such as soil type, groundwater level, and adjacent structures.
Material options comparison
Choosing the right lagging material impacts durability, cost and installation speed. Use the table below to compare common options:
| Material | Application | Advantages | Considerations |
|---|---|---|---|
| Timber lagging | Temporary excavations | Low cost, rapid installation | Prone to decay, limited reuse |
| Precast concrete panels | Permanent transport walls | Durable finish, minimal maintenance | Higher upfront cost, heavier units |
| Steel plating | High-pressure soils | Thin profile, high strength | Requires welding or bolting |
| Shotcrete | Irregular profiles | Conforms to shape, permanent solution | Specialized equipment, curing time |
Design and planning factors
Strong panel reinforcement starts with precise design. Key factors include:
- Soldier pile spacing and embedment depth
- Excavation height and adjacent surcharge loads
- Soil classification—sand, gravel, clay—and related pressures
- Goldberg-Zoino chart to size timber lagging based on span and depth
- Apparent earth pressure diagram (Terzaghi and Peck methods) to calculate lateral loads
You may also integrate anchors or bracing for added lateral support. Always verify your design meets soldier pile and lagging wall design standards and excavation shoring regulations.
Installation process steps
A streamlined installation keeps your timeline on track. Follow these steps:
- Drill or drive soldier piles at planned intervals
- Excavate in lifts, inserting lagging as soon as space allows
- Place lagging from the top down when soil conditions permit
- Backfill behind each lagging panel zone to minimize ground loss
- Monitor for any sloughing; grout or compact fill if slight caving occurs
For an in-depth walkthrough, see our guide on installation of lagging panels.
Maintenance and inspection tips
Routine checks help you catch issues before they escalate. Every month, inspect:
- Lagging panels for cracks or decay
- Soldier pile flanges for corrosion or movement
- Backfill zones for uneven settlement
- Groundwater seepage behind the wall
Following excavation shoring best practices can prevent costly repairs and surface settlements.
Why choose RuffHouse Construction
RuffHouse Construction LLC leads the Pacific Northwest in complex shoring solutions.
- Local expertise across WA and OR
- Proven track record on high-profile projects
- Licensed and insured for full compliance
- Responsive crews ready to adapt on site
When you’re ready to secure your excavation with reliable panel reinforcement, contact RuffHouse Construction LLC for a tailored solution.
Frequently asked questions
1. What limits use of lagging panels?
High water tables or soft, cohesive soils may require extensive dewatering or alternate systems.
2. How deep can timber lagging go?
Based on the Goldberg-Zoino chart, timber lagging can reach depths up to 60 feet with proper sizing.
3. Can I convert a temporary wall to permanent?
Yes. Swap timber lagging for precast concrete panels and add permanent copings.
4. How do I control basal soil movement?
Embed piles deeper and use anchors or bracing to limit subgrade shifts.
5. What causes surface settlement?
Poor backfilling often leads to uneven ground loss. Compact fill in layers to prevent this.
Ready to start your own soldier pile wall project in Seattle, Tacoma, or anywhere in Puget Sound?
Learn how Ruffhouse Construction delivers safe, code-compliant soldier pile and lagging wall installations for any site.
See our Soldier Pile Installation Services for details and request a free estimate today.