Plan your lagging panel installation
Your lagging panel installation process starts with a clear plan that aligns with your project goals. Begin by assessing soil conditions, structural loads, and access constraints. Then map out each phase, from pre-construction design to final inspection. A solid plan helps you meet regulatory requirements and avoids costly delays.
Steps to include:
- Review geotechnical reports and permit requirements
- Define panel spacing and pile embedment depth
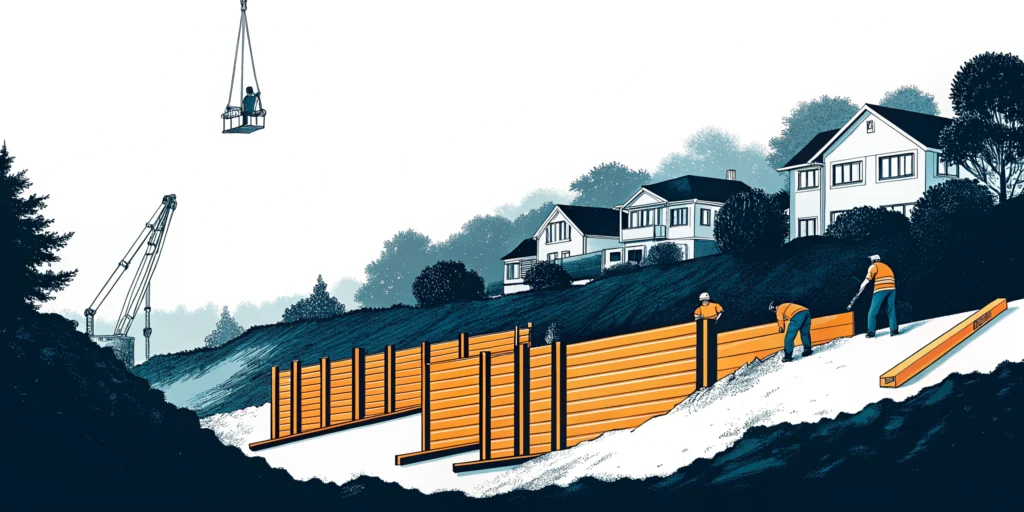
- Coordinate crane capacity with panel weight
- Draft detailed shop and field drawings
- Schedule trained crews and quality checks
I know coordinating all these details can feel overwhelming. That’s why breaking the plan into clear tasks ensures everyone stays on track.
Select panel materials
Choosing the right panel material affects both performance and cost. You’ll select from options like timber, steel, precast concrete, and pre-insulated lagging panel system assemblies. Each option has trade-offs in strength, weight, and installation speed.
Material comparison:
| Material | Weight (psf) | Typical use |
|---|---|---|
| Wood timber | 2–4 | Temporary walls in dry soils |
| Steel plate | 5–8 | High-load applications |
| Precast concrete | 6–10 | Permanent structures |
| Pre-insulated panels | ~4.5 | Hot flues, ducts, pollution systems |
Link to lagging panel material options and lagging panel design as you finalize your specifications. Optimizing material choice can cut installation time and improve safety.
Prepare excavation support
Before inserting panels, you need a supporting framework, typically built with soldier piles. These vertical steel members hold lagging in place as soil is removed. Proper pile spacing and embedment ensure stability.
Key actions:
- Install piles at designed centers, guided by soldier pile wall construction
- Verify alignment and embedment depth per your shoring systems for deep excavation design
- Provide temporary bracing if required for added safety
- Inspect pile flanges, cleaning any debris before panel attachment
By preparing this support system, you’ll prevent excessive ground movement and protect adjacent structures.
Install lagging panels step by step
Follow these steps for a smooth installation of your lagging panels:
- Excavate to the next pile level, maintaining a safe slope.
- Slide the lagging panel behind the pile flange, ensuring a flush fit.
- Fasten panels using sheet metal screws with neoprene washers to prevent water ponding.
- Continue alternating excavation and panel insertion until you reach the design depth.
- Backfill behind each panel zone and compact in layers to restore ground support.
Link to installation of lagging panels for detailed guidance. Proper sequencing keeps your team safe and your schedule on track.
Inspect and secure panels
Quality control is vital before moving to the next excavation lift. Use a checklist to verify:
- Tight fit between panel edges and pile flanges
- Correct screw type and torque on each panel
- No signs of water ponding or loose joints
- Proper flashing around penetrations and corners, as shown in your shop drawings
Refer to excavation shoring quality control for best practices. Catching issues early prevents rework and reduces long-term costs.
Maintain panel wall performance
Even after installation, regular maintenance keeps your system reliable. Schedule periodic inspections to:
- Retighten or replace any loose fasteners
- Check seals and flashing for damage
- Clear debris that could trap water
- Monitor groundwater levels near the wall face
A proactive maintenance plan extends panel life and upholds site safety.
Why choose RuffHouse Construction LLC
- Leading excavation shoring contractor in WA/OR
- Over 20 years of experience in complex soil conditions
- Project delivery ahead of schedule on average
- Expertise in shoring systems for deep excavation and installation of lagging panels
- Rigorous safety protocols and quality control
When you’re ready
When you’re ready to improve your lagging panel installation process, partner with RuffHouse Construction LLC. We’ll guide you from planning through maintenance, ensuring a safe, cost-effective project. Contact us today to discuss your shoring needs.
Frequently asked questions
- What soil conditions suit soldier pile and lagging panels?
Competent soils like sand, gravel, and firm silts work best. Avoid soft clays or high water tables. - How often should I inspect installed lagging panels?
Inspect after each excavation lift and schedule quarterly checks during site downtime. - Can I use pre-insulated panels for hot flues?
Yes, pre-insulated lagging panel systems perform well up to 350°F with proper design. - What training ensures proper installation?
Courses like ASME’s Continuing Education Institute short course build installer expertise. - How can I prevent water intrusion behind panels?
Use neoprene-washer screws, install corner flashing, and maintain drainage behind panels.
Ready to start your own soldier pile wall project in Seattle, Tacoma, or anywhere in Puget Sound?
Learn how Ruffhouse Construction delivers safe, code-compliant soldier pile and lagging wall installations for any site.
See our Soldier Pile Installation Services for details and request a free estimate today.