When you’re planning a deep excavation, lagging panel design is critical to protect your team and equipment.
Follow these steps to build a reliable shoring wall:
- Assess site and soil conditions
- Select suitable panel materials
- Determine pile spacing and embedment
- Install panels and monitor performance
I know tight schedules and budgets can raise concerns, so this proven approach helps you save time and avoid rework.
By mastering these steps, you’ll deliver compliant, stable excavation support with minimal downtime.
When you’re ready to optimize your next project, let’s dive into the details.
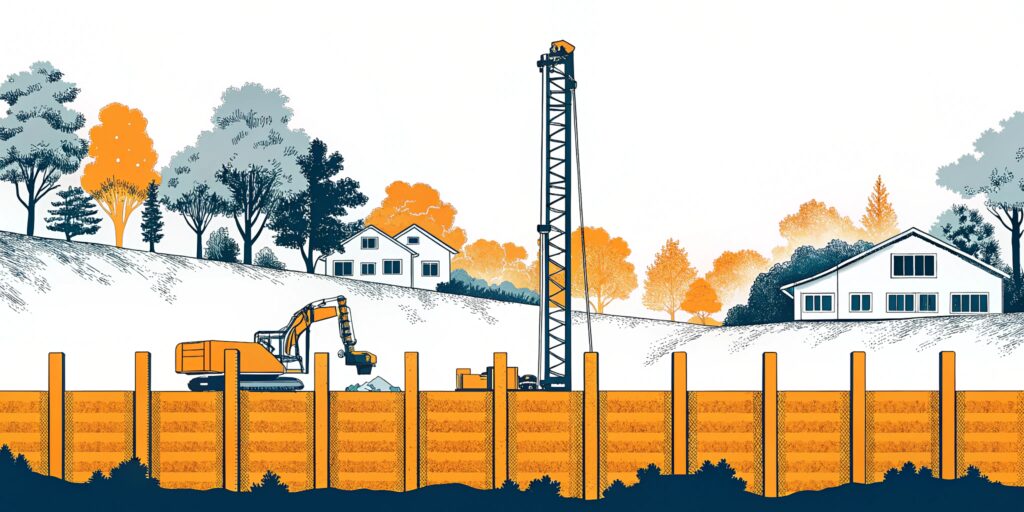
Understanding lagging panels
Role in excavation
Lagging panels fill the gap between soldier piles and the excavation face. They transfer earth pressure back to the piles and keep loose soil from collapsing. In a typical soldier pile wall construction, these boards act as your first line of defense.
Types of panels
You can choose among timber, precast concrete, or steel panel options. Each material offers distinct advantages and considerations:
| Material | Advantages | Considerations |
|---|---|---|
| Timber lagging | Cost-effective, easy to cut | Prone to decay without treatment |
| Precast concrete | High strength, durable | Heavier handling and transport |
| Steel plate lagging | Reusable, excellent strength | Higher initial purchase cost |
For more on each option, see our material selection guide.
Planning panel design
Assess soil and loads
Begin with a detailed geotechnical report. Identify soil type, groundwater level, and expected lateral loads. This data guides your choice of panel thickness and pile embedment. You can integrate findings with your overall excavation support systems strategy.
Select panel materials
Match material to site demands. Timber works well in short-term, low-moisture digs. Concrete suits long-term jobs with heavy loads. Steel excels where reuse or tight tolerances matter. Review our lagging panel material options to balance cost and durability.
Executing safe installation
Prepare excavation face
Clear loose soil and debris from each lift before installing new boards. Provide temporary drainage or dewatering if high water tables pose a risk. Ensure all excavation shoring equipment is in place and inspected.
Install panels
Set soldier piles at 6-foot intervals and embed them at least 20 feet deep. Excavate in lifts no taller than 5 feet, then slide panels into the gap. Pack granular fill behind each board to reduce voids. Follow the installation of lagging panels process to maintain alignment and load transfer.
Managing site safety
Monitor performance
Inspect your wall daily for deflection, cracks, or water seepage. Record readings and compare against allowable limits. If you spot unusual movement, adjust your plan immediately. Refer to excavation safety measures for detailed checklists.
Maintain compliance
Follow OSHA excavation rules and local codes for shoring depth and worker protection. Keep permits up to date and document inspections. Our team tracks all requirements under excavation shoring safety guidelines and excavation shoring regulations.
Why choose us
RuffHouse Construction LLC leads soldier pile and lagging panel installations across Washington and Oregon. Here’s what sets us apart:
- 200+ successful deep excavation projects completed
- 24/7 on-site support and real-time monitoring
- Expertise in groundwater management and lateral earth pressure analysis
When you’re ready to enhance safety and efficiency, contact RuffHouse Construction LLC today.
FAQ
1. What spacing should I use for soldier piles?
We recommend piles at 6 to 10 feet on center, based on load and soil conditions.
2. How deep should panels be embedded?
Panels typically sit flush with the excavation face and transfer loads back to piles embedded at least 20 feet deep.
3. Can I reuse steel lagging panels?
Yes, steel plates are designed for multiple uses if you inspect and maintain them after each project.
4. How do I handle high groundwater?
Install temporary dewatering systems and choose panels rated for moisture exposure.
5. What inspections ensure wall integrity?
Daily checks for deflection, cracks, and seepage meet best practices in excavation shoring quality control.
Ready to start your own soldier pile wall project in Seattle, Tacoma, or anywhere in Puget Sound?
Learn how Ruffhouse Construction delivers safe, code-compliant soldier pile and lagging wall installations for any site.
See our Soldier Pile Installation Services for details and request a free estimate today.